
Tools
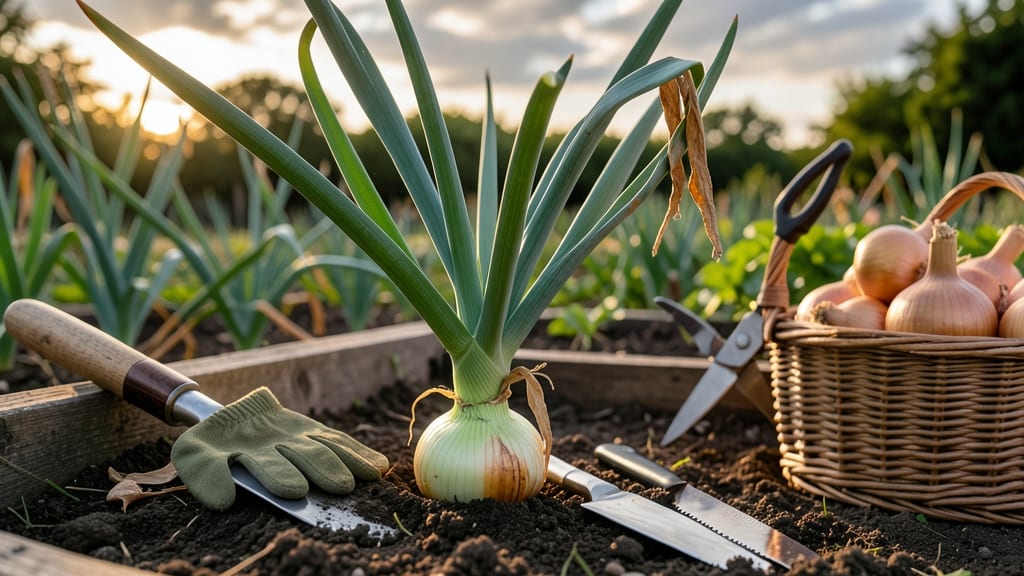
Pulling onions from the garden at the right time ensures sweet, flavorful bulbs 🧅 — and waiting too long turns them bitter or hollow.
If you’ve ever dug up an onion only to find it soft or still growing, you know how easy it is to miss the window. The difference between a perfect harvest and a disappointment often comes down to three simple signs: leaf color, bulb size, and neck thickness.
In USDA Zone 6a, where spring planting means June-August harvests, timing matters even more. Pull too early, and the bulbs won’t store well; leave them too long, and they split or sprout. Here’s how to spot the exact moment your onions are ready.
You’ll learn the visual cues to watch for, how to test maturity with a gentle squeeze, and the best way to cure onions for storage—plus how to fix common mistakes if you’ve already pulled them too soon.
3 Key visual signs your onions are ready for harvesting
Harvesting onions at the perfect moment transforms your garden into a treasure trove of flavorful bulbs. The key lies in recognizing three visual cues that signal maturity. When you spot these signs, your onions are primed for pulling—before they become tough or split.
I’ve learned the hard way that waiting too long ruins the sweetness, so let’s dive into what to watch for in your onion patch.
First, pay attention to the leaf color. Mature onions develop yellowing tops that eventually flop over. This isn’t just wilting—it’s a sign the plant is redirecting energy to the bulb below.
If your onion tops are still green and upright, they need more time in the ground. But if they’re drying out and falling, that’s your harvest window opening.
Next, examine the bulb size and firmness. A ready-to-harvest onion should feel solid and heavy for its size. Gently squeeze the bulb—if it gives slightly or feels soft, it’s not mature yet.
Aim for bulbs that are 2-3 inches in diameter, though smaller varieties may be perfect at 1-2 inches. The larger the bulb, the better the storage potential.
Finally, check the neck thickness where the bulb meets the stem. This area should tighten and dry out, almost like a natural constriction. If you see a papery skin forming and the neck feels firm, that’s your cue.
A thick, dry neck means the bulb has stopped growing upward and is ready for harvest.
🌱 3 Visual Signs Your Onions Are Ready
- 1. Yellowing, Flopping Tops: Onion tops turn straw-colored and fall over naturally. This indicates the plant has redirected nutrients to the bulb.
- 2. Firm, Heavy Bulbs: Gently squeeze the bulb—it should feel solid and dense, not soft or spongy. Aim for bulbs 2-3 inches wide.
- 3. Dry, Tight Neck: The stem where the bulb meets the top should shrink and feel papery. This signals the bulb has matured and stopped growing.
Pro Tip: Harvest when 60-70% of tops have yellowed and flopped for the best balance of flavor and storage life. 🧅
Don’t ignore the weather forecast when harvesting. Aim to pull onions before the first hard frost of fall, as freezing temperatures can damage the bulbs. In warmer climates, harvest before summer heat causes the bulbs to split.
I once left my onions in the ground too long during a heatwave, and they turned bitter—lesson learned!
Regional differences matter too. In cooler climates, onions mature faster and may be ready by early summer. In hotter zones, they might take until late summer or early fall.
Always adjust your timing based on your local growing season and microclimate. If you’re unsure, a quick soil check can confirm moisture levels—dry soil often signals it’s time to harvest.
Once you’ve confirmed all three signs, it’s time to gently pull the onions. Use a fork or your hands to avoid damaging the bulbs. After harvesting, let them cure in the sun for 1-2 days to toughen the skin.
This step is crucial for long-term storage. I’ve found that properly cured onions last all winter, while those harvested too early or not cured properly spoil quickly.
If you miss the window and your onions start to split or rot, don’t panic. Smaller bulbs can still be used fresh, while larger ones may need peeling.
The key is acting on those visual cues before the plant signals it’s too late. Trust your eyes—they’re your best tool for a perfect onion harvest.
How to test onion maturity: the squeeze-and-dig method
When your onion plants have reached their ideal height of 12-18 inches but you're unsure if they're ready to pull, the squeeze-and-dig method provides foolproof confirmation. This hands-on approach combines visual inspection with physical testing to determine whether your bulbs have reached peak maturity.
I've used this technique for years in my garden, and it consistently delivers perfect harvests—no guesswork required.
Start by selecting a few representative plants from different parts of your garden bed. Look for yellowing tops that have begun to flop over, as this is your first visual cue that maturity is approaching.
However, visual signs alone aren't enough—you'll need to combine them with the tactile test that reveals the true readiness of your onions.
If your onions pass all these tests, congratulations—you're ready to harvest! For short-day onions (common varieties like Yellow Granex), this typically occurs around 105 days after planting, while long-day onions may take up to 120 days.
Remember that regional climate plays a role, so adjust your timeline based on your last frost date.
What if your onions fail the test? Don't panic—simply leave them in the ground for another 7-10 days and retest. The key is to avoid pulling onions too early, as this results in small, pungent bulbs that lack storage potential.
Conversely, leaving them too long can cause the tops to turn brown and the bulbs to split open, ruining your harvest.
Once you've confirmed maturity, it's time to pull your onions carefully using a garden fork. Lift them gently to avoid damaging the bulbs, then let them cure in the sun for 3-5 days before storing.
This drying process is crucial for developing their sweet flavor and storage life—a reward for your patience in testing their maturity properly.