
Picking
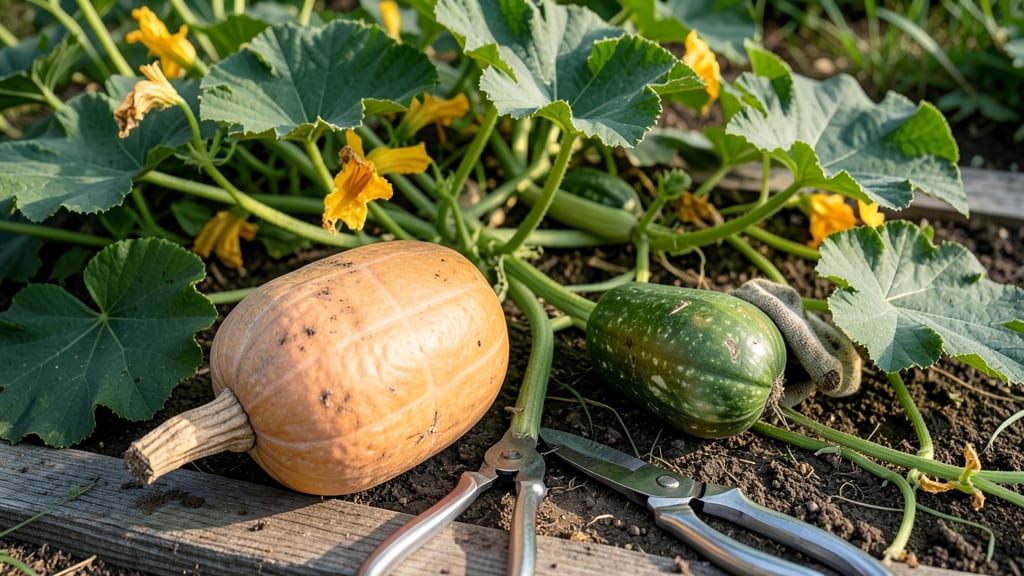
Picking butternut squash from your garden at the right time means the difference between a sweet, nutty harvest and a tough, flavorless one—here’s exactly when to pick yours for peak taste and storage.
Imagine pulling a squash from the vine, only to find it’s still hard and green inside. That’s the frustration of waiting too long—or worse, harvesting too early. Butternut squash 🎃 has a narrow window where it’s perfect to pick, and missing it means sacrificing both flavor and shelf life.
You’ll learn to spot three key signs of ripeness: when the skin turns dull and hard, the stem dries up, and the fruit feels unexpectedly heavy. These cues matter more than days on the vine, especially in Zone 6a where early frosts can sneak up fast.
From testing ripeness to adjusting for your local climate, this guide covers everything you need to know—so you can enjoy homegrown squash that tastes like autumn, not disappointment.
3 Visual signs your butternut squash is ripe for harvesting
Knowing when to pick butternut squash from your garden ensures you get the sweetest, most flavorful harvest. Unlike some squash varieties, butternut squash doesn’t ripen further after picking, so timing is everything.
The key lies in three visual cues that tell you it’s time to harvest: skin color changes, stem condition, and the fruit’s size-to-weight ratio. Let’s break down what to look for to avoid picking too early—or too late!
First, let’s talk about the skin color. When ripe, the skin of a butternut squash transitions from a vibrant green to a dull, tan or beige hue. This color shift indicates the squash has reached its sugar peak and is ready to be harvested.
The skin should also feel hard when pressed—almost like a watermelon rind. If it’s still soft or green, it needs more time on the vine.
Now, check the stem near the fruit. A ripe butternut squash will have a stem that’s dried out, brown, and slightly shriveled. This is your plant’s way of telling you, “I’m done here!”
If the stem is still green and alive, the squash isn’t ready yet. Cutting the stem too early can lead to a squash that’s tough and lacks sweetness.
Here’s where many gardeners miss the mark: the size-to-weight ratio. A fully ripe butternut squash feels surprisingly heavy for its size. Pick it up—if it’s dense and solid, it’s ready.
If it feels light or hollow when tapped, it’s not quite there yet. This is especially important for larger varieties, which can take longer to mature.
🎃 3 Key Visual Signs Your Butternut Squash Is Ripe
- 1. Skin Color: Dull tan or beige (not shiny green).
- 2. Stem Condition: Dry, brown, and shriveled near the fruit.
- 3. Weight: Feels heavy for its size—dense and solid when lifted.
Pro Tip: Use a sharp knife or pruners to cut the stem, leaving a 1-inch stem attached to the squash. This helps prevent rot during storage.
Harvesting at the right time isn’t just about taste—it’s also about storage life. Squash picked too early will spoil faster, while those left too long on the vine can become tough and woody.
Aim to harvest your butternut squash before the first frost, as cold temperatures can damage the fruit. In warmer climates, you might get a second harvest if you planted early varieties.
One common mistake is waiting for the squash to turn orange, like some other winter squash varieties. Butternut squash stays tan or beige when ripe—don’t let that fool you! If you’re unsure, check the skin hardness and stem condition first.
Overripe squash can develop soft spots or rot, so when in doubt, harvest a little early and store it in a cool, dry place for a few days to let it finish ripening.
For the best results, harvest your butternut squash on a dry, sunny morning. This gives the fruit time to dry out before storage, reducing the risk of mold. After harvesting, cure your squash by placing it in a warm (around 85°F), dry spot for about 10 days.
This process enhances flavor and extends shelf life, making your harvest last well into winter.
If you’re growing multiple varieties, keep an eye on their maturity timelines. Some butternut squash varieties mature faster than others, so check seed packets for specific days to maturity.
Early varieties might be ready in as little as 80 days, while slower varieties can take up to 120 days. Adjust your harvesting schedule accordingly to avoid missing the window.
Finally, don’t overlook the importance of seasonal adjustments. In cooler climates, you might need to harvest earlier to avoid frost damage. In warmer areas, you can often leave squash on the vine longer.
Pay attention to your local first frost date and plan your harvest around it. With these visual cues in mind, you’ll be well on your way to a bountiful, delicious harvest!
How to test butternut squash ripeness: the seed and skin trick
Butternut squash ripeness isn’t just about waiting for the right season—it’s about checking two key indicators: the skin hardness and the seed maturity. These two tricks will tell you exactly when to harvest for that perfect balance of sweetness and texture.
I’ve learned the hard way that picking too early means tough flesh, while waiting too long can lead to overripe squash that spoils faster.
Start by examining the skin color and surface texture. A ripe butternut squash will have a dull, matte finish instead of a shiny, green exterior. Run your fingers over the skin—it should feel hard and thick, not soft or yielding.
This outer shell protects the squash during storage, so don’t skip this step! If the skin is still smooth and green, it’s not ready yet.
⚠️ Warning: Don’t Rely on Color Alone!
Butternut squash can fool you with color—some varieties stay green even when ripe! Instead, test the skin hardness and check the stem. A dried, brown stem near the fruit is a clear sign of ripeness.
If the stem is still green and alive, your squash needs more time on the vine.
Next, it’s time to cut into the squash (or at least peek at the seeds) for the ultimate ripeness test. Cut a small slice near the blossom end and check the seed cavity.
The seeds should be fully formed and soft, not hard or shriveled. If the seeds are still white or underdeveloped, your squash isn’t ready—wait another 7-10 days before checking again.
Here’s a pro tip: Tap the squash gently with your knuckles. A ripe butternut will sound solid and dense, like a drum. If it sounds hollow or light, it’s not ready.
This trick works best when combined with the skin test—think of it as a double-check to avoid mistakes.
One common mistake I see is harvesting after the first frost. While butternut squash can handle light frosts, freezing temperatures ruin the texture and flavor. If frost is in the forecast, pick your squash 1-2 weeks early and store it in a cool, dry place.
The seed test and skin hardness will still apply—just adjust your timeline.
Finally, remember that storage life depends on ripeness. Squash picked at peak ripeness can last 2-3 months in a cool, dark place, while underripe or overripe squash spoil faster.
By mastering these two tricks—the seed check and skin test—you’ll always know exactly when to harvest for the best flavor and longest storage.