
Tools
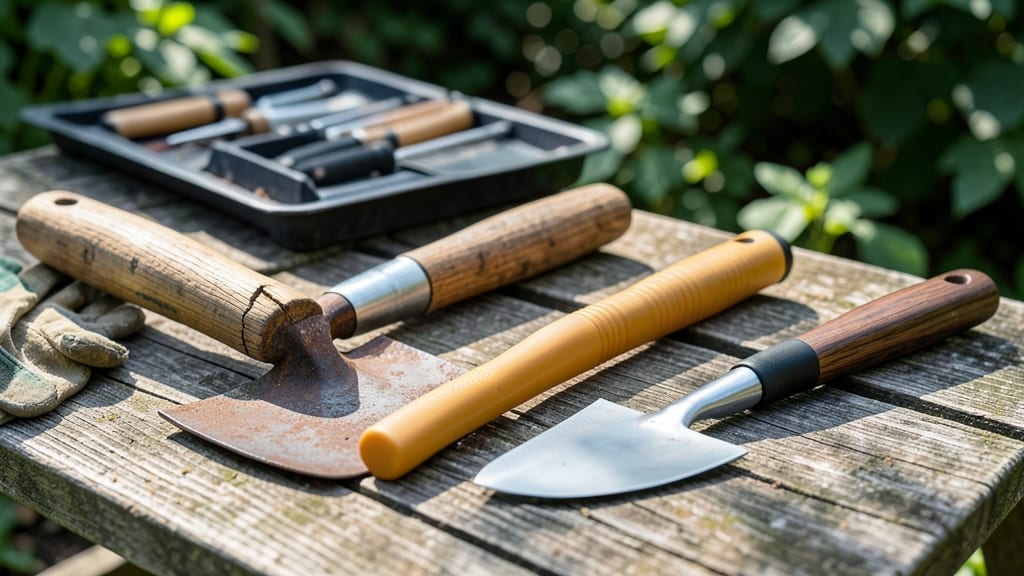
How to replace a garden hoe handle in 10 minutes: step-by-step guide
A broken garden hoe handle can feel like a gardening disaster—until you know how to swap it out quickly. The good news? With just three essential tools and a few minutes of your time, you can restore your hoe to working order.
This guide covers everything from removing the old handle to securing the new one safely, so you can get back to weeding without delay.
Before you begin, gather your socket wrench, adjustable wrench, and rubber mallet. These tools will make the job smooth and secure. Safety first: wear gloves to protect your hands and work in a well-ventilated area.
If your hoe has a rusted or corroded connection, a little penetrating oil can work wonders to loosen things up.
Step-by-Step Guide to Replacing Your Garden Hoe Handle
-
Step 1: Remove the Old Handle
Place the hoe head on a stable surface. Use the socket wrench to loosen the nut at the base of the handle. If it’s stuck, spray with penetrating oil and wait 5-10 minutes for it to work. -
Step 2: Unscrew the Old Handle
Once the nut is loose, use the adjustable wrench to grip the handle shaft and unscrew it clockwise. If resistance persists, gently tap the handle with the rubber mallet to break the seal. -
Step 3: Inspect the Hoe Head
Check the threading on the hoe head for damage or corrosion. Clean it with a wire brush if needed. This ensures a snug fit for the new handle. -
Step 4: Prepare the New Handle
Ensure the new handle has the same thread length and diameter as the old one. If it’s wooden, sand any rough edges for comfort. For fiberglass or aluminum, check for cracks or bends. -
Step 5: Attach the New Handle
Screw the new handle into the hoe head by hand first, then tighten it with the socket wrench. Don’t overtighten—just until it’s secure. -
Step 6: Secure with the Nut
Place the nut back on the threaded end of the handle and tighten it with the adjustable wrench. A drop of thread-locking adhesive can prevent future loosening. -
Step 7: Test the Fit
Hold the hoe by the handle and wiggle it slightly. If it feels loose, tighten the nut a little more. If it’s too tight, loosen it slightly to avoid damaging the handle. -
Step 8: Final Safety Check
Ensure the handle is stable and straight. If it’s wooden, apply a coat of linseed oil to prevent splintering. Store your hoe in a dry place to prolong its life.
One common mistake is using the wrong-sized wrench, which can strip the nut or damage the handle. Always double-check the thread size before purchasing a replacement. Another pitfall is overtightening, which can cause the handle to crack—especially with wooden or fiberglass options.
If your hoe handle has a smooth shaft instead of threading, you’ll need a different approach. In this case, you might need to use a handle clamp or a custom adapter to secure the new handle. These are available at garden supply stores and can be installed with basic tools.
For extra durability, consider upgrading to a fiberglass or aluminum handle. These materials resist weathering and won’t splinter like wood. Plus, they’re often lighter, making your gardening tasks more comfortable. Just make sure the new handle matches the length and diameter of your old one.
Once you’ve replaced the handle, give your hoe a test run in the garden. Dig into some soil to ensure the new handle feels secure and comfortable.
If everything checks out, you’re ready to tackle those weeds with confidence! Remember, a well-maintained hoe lasts for years, so this quick fix is worth the effort.
Pro tip: Keep a spare handle in your garden shed. That way, you’ll never be left without a working hoe when you need it most. Store it in a dry place to avoid moisture damage, and you’ll always be prepared for quick repairs.
3 Best garden hoe handle materials for longevity and comfort
Choosing the right garden hoe handle material can make all the difference in your gardening experience. A comfortable, durable handle ensures less fatigue and longer tool life, while the wrong choice can lead to frustration and frequent replacements.
Whether you're tackling weeds in your vegetable patch or maintaining your lawn, the material you pick will impact how smoothly your tasks go.
I’ve tested wood, fiberglass, and aluminum handles over the years, and each has its strengths. Wood offers a classic feel but requires more maintenance, while fiberglass provides lightweight comfort without the splinter risk.
Aluminum handles are the most durable and rust-resistant but can feel colder in winter. Let’s break down the best options to help you pick the perfect fit for your gardening needs.
summary-table
| Material | Durability | Grip Comfort | Ease of Replacement | Best For |
|---|---|---|---|---|
| Wood | Moderate (needs maintenance) | Excellent (natural texture) | Moderate (may warp over time) | Traditional gardeners, aesthetic preference |
| Fiberglass | High (resistant to rot) | Good (smooth, no splinters) | Easy (lightweight, simple to swap) | Frequent gardeners, all-season use |
| Aluminum | Very High (rust-proof) | Good (may need grip tape) | Very Easy (lightweight, durable) | Heavy-duty tasks, cold climates |
If you love the classic look and feel of traditional gardening tools, wooden handles might be your best bet. They offer an unmatched grip and a timeless appearance, but they do require occasional oiling to prevent cracking and splintering.
I’ve found that ash or hickory handles hold up best in damp conditions, making them ideal for gardeners who work in moist climates or near water sources.
For those who prioritize low maintenance and lightweight comfort, fiberglass handles are a game-changer. They won’t rot like wood and are far less likely to splinter, which is a huge plus if you’re working with kids or pets around.
Plus, they’re easier to replace if they ever wear out. I’ve used fiberglass handles for years, and they’ve held up beautifully even after daily use in my vegetable garden.
When it comes to heavy-duty tasks or working in cold weather, aluminum handles are my top recommendation. They won’t rust or warp, and they’re incredibly lightweight, reducing strain on your arms during long gardening sessions.
The only downside? They can feel a bit slippery if you don’t add grip tape, but that’s an easy fix. I’ve seen aluminum handles last for decades with minimal care, making them a long-term investment.
No matter which material you choose, always check the threading and length before purchasing to ensure compatibility with your hoe head. Most garden centers and online retailers offer a variety of options, so you can easily find a replacement that matches your existing tool.
With the right handle, you’ll spend less time struggling and more time enjoying your garden.