
Picking
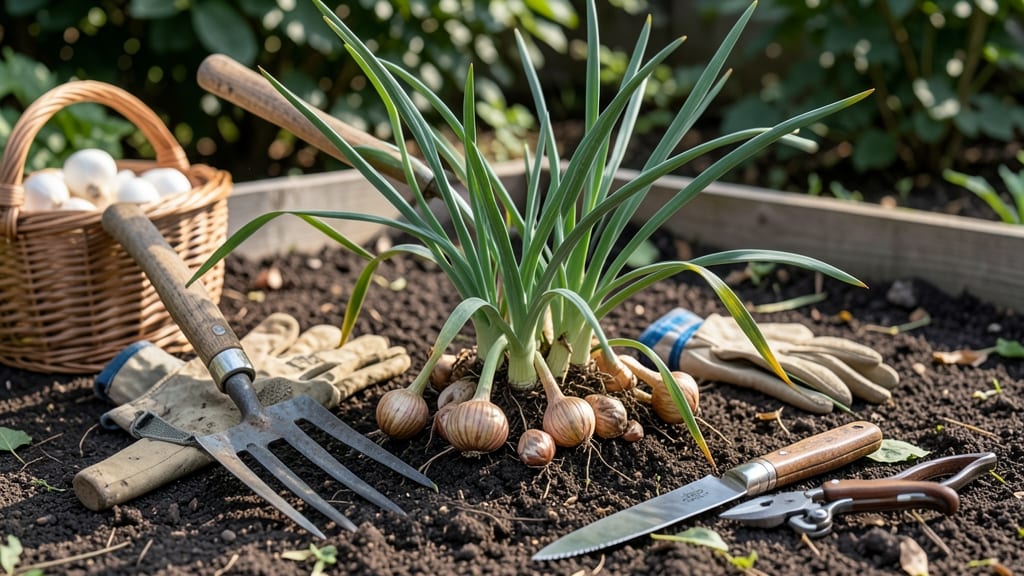
Harvesting shallots from your garden at the right time unlocks their full flavor and keeps them fresh for months—so don’t miss these key signs.
Shallots add bold, aromatic flavor to dishes—but harvesting them at the wrong time means tough bulbs and wasted effort. You’ll know they’re ready when the tops turn yellow and flop over, but before they turn brown.
This 3-week window is your chance to pull them for peak taste and storage potential.
Timing matters because shallots in USDA Zone 6a (like most home gardens) need to mature fully by late July or early August. If you dig too early, the bulbs won’t store well; if you wait too long, they’ll split or rot.
Below, I’ll walk you through the exact steps to harvest, cure, and store them like a pro.
Whether you’re a first-time grower or looking to improve your method, this guide covers everything—from recognizing the perfect harvest moment to avoiding common mistakes that ruin your crop.


When to harvest shallots for maximum flavor and storage
Timing your shallot harvest is everything—pull them too early, and you’ll get small, pungent bulbs. Wait too long, and they’ll split or rot. The perfect window depends on leaf color, bulb size, and even your local weather patterns.
I’ve learned from years of trial (and a few failed harvests) that visual cues are your best guide.
Most shallots mature between 90–120 days after planting, but this varies by variety and climate. In USDA Zone 6a (where I garden), my spring-planted shallots are ready by mid-July, while fall-planted ones hit their prime in October. The key? Watch for these three critical signs before digging.
| Harvest Indicator | What to Look For | Action Step |
|---|---|---|
| Leaf Color | Tops turn straw-colored and flop over (but aren’t brown or crispy) | Harvest within 3–5 days to avoid splitting |
| Bulb Size | Bulbs reach 1–2 inches in diameter and feel firm when gently squeezed | Dig carefully to prevent bruising |
| Outer Skin | Papery, dry outer layers (but inner skins stay moist) | Cure immediately to prevent rot |
| Weather Impact | Dry, warm days (70°F+) speed up maturity; rain delays harvest | Harvest on a sunny morning after 2–3 dry days |
If your shallot tops are still green and upright, they’re not ready—bulbs will be underdeveloped and tough. I once harvested too early and ended up with shallots the size of marbles! Conversely, if tops turn brown and crispy, you’ve waited too long; bulbs may split or sprout.
For spring harvests, aim for late June to July in most climates. In cooler zones (like mine), extend the season by planting fall sets in September for an October harvest.
The trick? Adjust for your frost dates—shallots won’t tolerate freezing, so harvest 2–3 weeks before the first frost.
Weather plays a huge role. After a hot, dry spell, shallots mature faster. But if you’ve had consistent rain, bulbs may stay soft and prone to rot. I always check the 7-day forecast before harvesting—clear skies for drying are a must.
Pro tip: Test one bulb by peeling back the outer layers. If the inner skins are dry but not shriveled, it’s harvest time. If they’re still glossy and moist, wait another 5–7 days. This simple check saved me from harvesting a half-ripe batch last year.
One common mistake? Pulling shallots by the tops instead of gently lifting the whole bulb. Always use a fork or trowel to loosen soil—never yank! I’ve seen gardeners accidentally sever the bulb from the stem, leading to spoilage. Handle them like eggs: firm but careful.
For maximum storage life, harvest when bulbs are firm and dry-skinned. Store them in a cool, dark place (like a mesh bag) where they’ll keep for 4–6 months. If you harvest too early, they’ll sprout faster; too late, and they’ll rot. Timing is everything!
Step-by-step guide to digging and curing shallots properly
Harvesting shallots at the right time ensures flavorful bulbs that store well for months. But even with perfect timing, improper digging or curing can ruin your harvest. I’ll walk you through the gentle removal process and drying techniques that preserve quality—plus how to fix common mistakes like rot or breakage.
Start by gathering your tools: a sharp garden fork, pruning shears, and a clean drying rack or mesh bag. Work on a dry, sunny day when humidity is low to minimize disease risk.
The key is to handle shallots with care—their papery skins protect them, but rough handling bruises the bulbs and shortens storage life.
Step-by-Step Guide to Harvesting Shallots
- Step 1: Loosen Soil Gently
Use a garden fork to dig 4-6 inches around the plant in a circular motion. Avoid piercing the bulbs—shallots grow in clusters. - Step 2: Lift with Care
Grasp the foliage and pull upward to expose the bulbs. Shake off excess soil, but don’t rinse. - Step 3: Trim Foliage
Cut stems to 1-2 inches above the bulb with sterilized shears. Long stems draw moisture during curing. - Step 4: Dry in Sun or Shade
Spread bulbs in a single layer on a rack. Sun-dry for 3-5 days (if temps are 75°F or below) or shade-dry for 7-10 days to prevent overheating. - Step 5: Cure for Longevity
Once skins are papery and dry, store in a cool, dark place with good airflow (e.g., mesh bags or braided bundles).
If your shallots develop soft spots during curing, they’re likely rotting from excess moisture. Move them to a dry, shaded area immediately and separate affected bulbs to prevent spread. For broken bulbs, use the smaller pieces in recipes immediately—they won’t store long.
Pro tip: Harvest in batches if your crop ripens unevenly. Pull a few plants every 2-3 days for consistent flavor and storage. Overcrowding during drying can trap humidity, leading to mold—so space bulbs 2 inches apart on your rack.
With these steps, your shallots will stay firm and flavorful for up to 6 months. The secret? Patience during curing and gentle handling every step of the way. Now grab your fork and get ready for a harvest that’ll impress!