
Tools
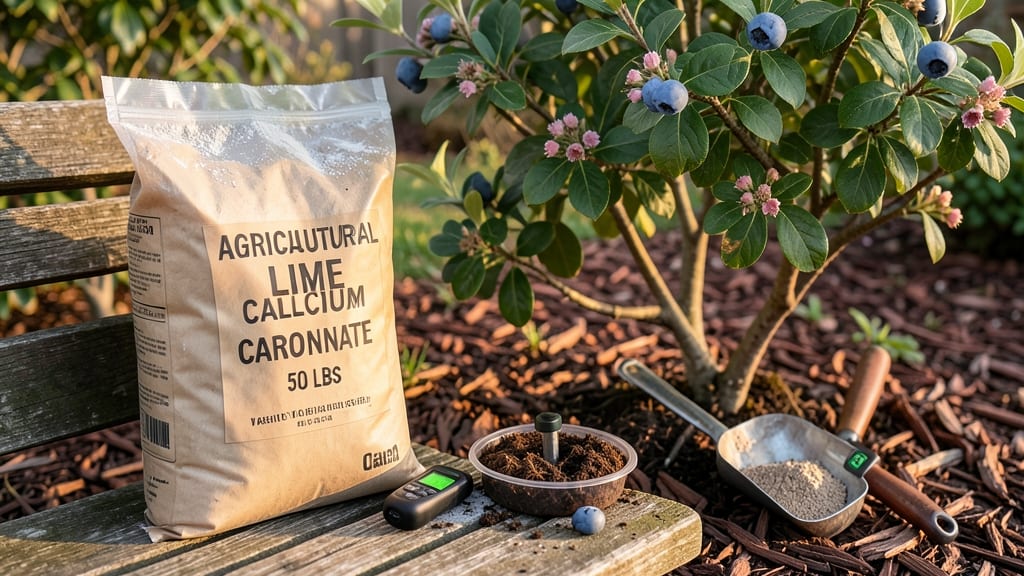
Putting lime in your garden at the right time can transform your soil from acidic to ideal for most plants 🌱—but the window is narrower than you might think.
Struggling with yellowing leaves, stunted growth, or soil that feels too acidic? Adding lime to your garden could be the game-changer your plants need—but timing is everything. Discover the exact moments to apply lime for optimal results and avoid common gardening mistakes that waste time and money.
Most gardeners assume lime can be tossed on anytime, but the truth is, applying it too early or too late means your plants won’t benefit until next season.
The best time to put lime in your garden is actually 6 to 12 months before planting, giving it time to work its magic into the soil.
In this guide, I’ll break down the seasonal timing, how to test your soil, and the signs that tell you it’s time to act—so you can finally grow the thriving garden you’ve always wanted.
Best times of year to apply lime for maximum soil pH adjustment
Timing your lime application correctly can mean the difference between thriving plants and wasted effort. Lime works best when applied during periods of moderate soil moisture and cooler temperatures, allowing it to integrate fully before planting season.
The two prime windows—fall and early spring—offer distinct advantages depending on your climate and garden goals.
Fall application, ideally 3–4 months before planting, gives lime time to dissolve and adjust soil pH naturally over winter. This method is especially effective in USDA Zones 4–8, where freezing temperatures slow microbial activity, preventing rapid pH shifts.
Meanwhile, early spring applications work best in warmer climates (Zones 9+) where winter rains help distribute lime evenly before the growing season kicks in.
Soil temperature plays a critical role—lime works poorly in frozen or waterlogged soil. Aim for 40–60°F soil temps to ensure proper absorption. Rainfall patterns also matter: apply lime before heavy rains to avoid washing it away, but after light showers to help it settle into the soil.
Here’s a quick comparison to guide your timing decisions:
For container gardens, timing is less critical, but apply lime 2–3 months before planting to allow pH adjustment. Mix it into the top 6 inches of soil and water thoroughly to activate the amendment.
In heavy clay soils, consider splitting applications—half in fall and half in spring—to prevent compaction.
Climate zone matters: In northern regions, focus on fall applications to leverage winter’s natural soil work. Southern gardeners should prioritize early spring to avoid summer heat stress on plants. Always test soil pH 2–3 months after liming to confirm adjustments—this ensures you’re not overcorrecting for next season’s crops.
Pro tip: If you’re planting acid-loving plants like blueberries or azaleas, avoid lime entirely. Instead, use elemental sulfur to lower pH. For most vegetables and lawns, aim for a pH of 6.0–7.0—lime helps achieve this balance when applied at the right time.
Remember, lime takes time to work. Rushing the process can lead to uneven pH levels or nutrient imbalances. Patience pays off with healthier soil and stronger plants come growing season.
🌱
How to test your soil and determine if lime is needed before application
Before adding lime to your garden, you need to know your soil's pH level—this tells you whether your plants are thriving or starving for calcium. Most vegetables and flowers prefer a neutral pH of 6.0–7.0, while acid-loving plants like blueberries and azaleas need pH 4.5–5.5.
Without testing, you risk over- or under-correcting, which can harm your plants and waste money.
Testing is simple: grab a soil pH test kit (available at garden centers for $10–$20) or invest in a digital meter ($30–$50) for faster, reusable results. I recommend testing in spring or fall when soil is moist but not waterlogged.
Collect samples from multiple spots (at least 5–6 inches deep) and mix them in a clean bucket for an accurate reading.
Interpreting results: A reading below 6.0 means your soil is too acidic and likely needs lime. For example, if your pH is 5.5, you’ll need more lime than if it’s 5.8. Use the table below to match your plants' needs and calculate the right amount.
| Plant Type | Ideal pH Range | Lime Needed If pH Is | Notes |
|---|---|---|---|
| Vegetables (tomatoes, peppers, lettuce) | 6.0–7.0 | Below 6.0 | Apply 5–10 lbs per 100 sq ft |
| Fruits (apples, pears, strawberries) | 6.0–7.0 | Below 6.0 | Test soil annually; lime every 2–3 years |
| Acid-Lovers (blueberries, azaleas, rhododendrons) | 4.5–5.5 | Above 5.5 | Avoid lime; use sulfur instead |
| Lawns (cool-season grasses) | 6.0–7.0 | Below 6.0 | Apply 20–50 lbs per 1,000 sq ft |
Once you’ve tested your soil, calculate the lime requirement using your local extension office’s soil test report or an online calculator. For example, if your 100-square-foot garden has a pH of 5.2 and you’re planting tomatoes, you’ll need about 7–10 pounds of pelletized lime (not quicklime, which burns plants).
Spread it evenly and water it in—don’t till it into the soil.
Remember, lime takes 2–6 months to adjust pH, so plan ahead. If you’re planting in spring, apply lime in late fall to let it work over winter.
For summer planting, apply lime in early spring. Avoid adding lime in drought conditions—it won’t dissolve properly, and you’ll waste product.
Pro tip: Retest your soil 3–6 months after applying lime to confirm the pH shift. Over-liming can lock out essential nutrients like iron and manganese, so aim for gradual adjustments. Now that you’ve got the science down, your garden’s pH will be perfect for whatever you’re growing! 🌱