
Picking
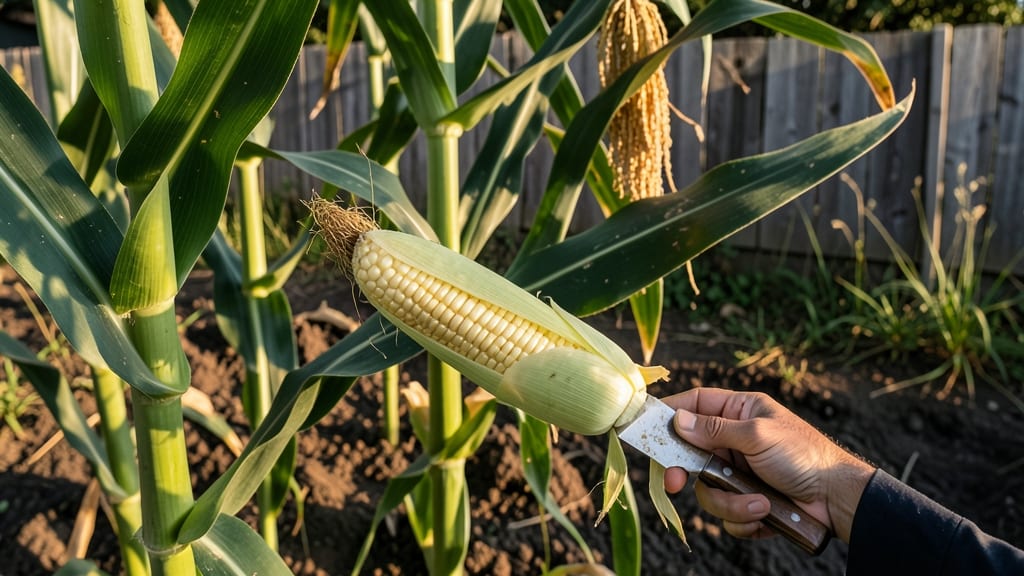
Picking corn from your garden at the right time ensures sweet, tender ears 🌽—and missing these signs can turn your harvest into tough, starchy disappointment.
Nothing beats the taste of fresh corn straight from the garden, but timing is everything. Too early, and the kernels are still hard and underdeveloped. Too late, and the sugar turns to starch, leaving you with a mealy bite that’s anything but satisfying.
Below, I’ll walk you through the three key signs to look for—silk color, kernel development, and ear firmness—so you can pull your corn at its peak. Plus, I’ll share how climate and variety affect the perfect harvest window, so you’re never left guessing.
By the end, you’ll know exactly when to reach for those ears, ensuring every bite is as sweet and crisp as it should be.


3 Visual signs your garden corn is ready for harvesting
Harvesting corn at the right time transforms your garden into a treasure trove of sweet, juicy ears. But how do you know when those golden kernels are finally ready? The secret lies in three simple visual cues that reveal whether your corn is at its peak.
Ignoring these signs can turn your sweet harvest into tough, starchy disappointment—so let’s dive into what to look for before you grab that harvesting knife.
First, pay attention to the silks—those long, thread-like strands at the top of each ear. When they first appear, they’re bright green and moist, signaling early pollination. But as the corn matures, these silks begin to change color and texture.
This transformation is your first clue that harvest time is near. The silks aren’t just decorative; they’re a harvest timer you shouldn’t ignore.
Next, focus on the kernels themselves. At the perfect moment, they’ll be plump, firm, and milky white when you pierce one with your fingernail. This isn’t just about color—it’s about texture and moisture. If the kernels are still hard or translucent, they’re not ready.
But if they ooze a creamy liquid, you’ve hit the sweet spot. This milky stage is when corn tastes its best, so don’t miss it!
Finally, consider the size and shape of the ear. Mature corn ears should feel firm but begin to dent slightly when you gently squeeze them. If the ear is too small or feels rock-hard, it’s not ready.
Conversely, if it’s overly soft or the kernels are shriveled, you’ve waited too long. The ideal ear is plump, full, and just beginning to yield under gentle pressure—this is your final green light.
- 1. Dry, Brown Silks: When the silks turn crispy and brown, it’s time to check the kernels. This usually happens 20-25 days after pollination, depending on your variety.
- Milky Kernels: Pierce a kernel with your fingernail—if it releases a creamy, milky liquid, your corn is at peak sweetness. Avoid the "dough stage", where kernels turn yellowish and starchy.
- Firm but Slightly Soft Ears: A ready ear should feel solid but yield slightly when squeezed. If it’s rock-hard, it’s underripe; if it’s mushy, it’s overripe.
Don’t overlook the leaves at the top of your corn plant—another subtle sign of ripeness. When they begin to dry out and yellow, it’s a clear indication that the ear below is nearing harvest time.
This is nature’s way of telling you that the nutrients have fully transferred to the kernels, making them sweeter and more flavorful.
Regional differences can slightly alter these signs, especially in hotter climates where corn matures faster. In cooler zones, like USDA Zone 6a, you might have an extra week or two before harvest.
Always adjust your timing based on your local growing conditions—heat waves can speed up ripening, while cool nights may slow it down.
Pro tip: Harvest your corn in the morning when temperatures are cooler. This preserves the sweetness and moisture in the kernels, making them taste fresher even after a few days in storage.
If you’re unsure, pick a few ears a day apart and taste-test them—your palate is the ultimate judge of perfect ripeness.
Once you’ve mastered these three visual cues, you’ll never second-guess when to harvest again. The key is to act quickly—corn can go from perfectly sweet to starchy and tough in just a day or two.
So keep an eye on those silks, test those kernels, and enjoy the reward of homegrown sweetness at its finest.
Now that you know the signs, your garden is one step closer to a bountiful harvest. Grab your pruning shears, head outside, and get ready to enjoy the fruits of your labor—literally! 🌽
How to test corn ripeness: the milk, dent, and finger press method
While checking the silk color and ear size gives clues, these three simple tests reveal the true ripeness of your corn. The milk test is my favorite—it’s foolproof for determining peak sweetness.
But don’t stop there; the dent check and finger pressure method confirm texture and maturity. Together, they ensure you never harvest corn that’s too early (underdeveloped) or too late (starchy and tough).
Start with the milk test, which is the most accurate way to gauge sugar content. Pierce a kernel with your fingernail—if a milky white liquid oozes out, your corn is at its sweetest. This test works best on mid-sized kernels (about ½ inch long).
For early-maturing varieties like 'Golden Bantam', this test is especially critical since they ripen faster. If the liquid is clear or watery, wait 1-2 days; if it’s yellowish or starchy, you’ve missed the window.
Step-by-Step: Test Corn Ripeness Like a Pro
- 1. Milk Test: Pierce a kernel with your fingernail—look for milky white liquid. If it’s clear or yellow, wait 1-2 days.
- 2. Dent Check: Gently press your thumb and forefinger on the ear’s tip. A slight dent means it’s ready; no dent = too firm (underripe).
- 3. Finger Press: Squeeze the ear’s side—it should feel firm but slightly soft. If it’s rock-hard, it’s not ready; if it’s mushy, it’s past prime.
- 4. Silk Inspection: Confirm silks are dry and brown (not green or moist). This aligns with the milk test for accuracy.
- 5. Kernel Size: Aim for ½ to ¾ inch kernels. Smaller = underripe; larger = starchy. Varieties like 'Peaches and Cream' hit this size faster.
Next, perform the dent check by pressing your thumb and forefinger on the tip of the ear. A slight indentation signals readiness—this means the starch-to-sugar ratio is perfect.
If the ear feels rock-hard, it’s not ripe enough; if it dents deeply, the corn has started converting sugar to starch, making it less sweet. This test is especially useful for larger varieties like 'Silver Queen', which can be trickier to time.
The finger press method is my go-to for texture confirmation. Grip the ear’s side firmly—it should feel firm but yield slightly under pressure. Think of it like testing a ripe avocado: not too soft, not too hard.
If the ear resists pressure completely, it’s underripe; if it feels mushy, it’s overripe. Pro tip: Do this test in the morning when ears are coolest, as heat can make them feel softer than they are.
Combine all three tests for 100% accuracy. For example, if the milk test shows white liquid but the finger press feels mushy, the corn is past its prime. Conversely, if the dent check shows no give but the silks are brown, wait another day.
This multi-step approach works for all corn varieties, from dwarf 'Golden Bantam' to towering 'Peaches and Cream'. Remember: Harvest in the morning for the best flavor, as sugars peak after a cool night.
Once you’ve mastered these tests, you’ll never guess when to pick corn again. The milk test alone can save you from starchy disappointment, while the dent and finger press methods ensure perfect texture.
Store harvested ears in the fridge for up to 5 days or freeze them for long-term use. Now grab your pruners and enjoy corn at its sweetest—your taste buds will thank you! 🌽